

Get sales advice from our team 7 days a week
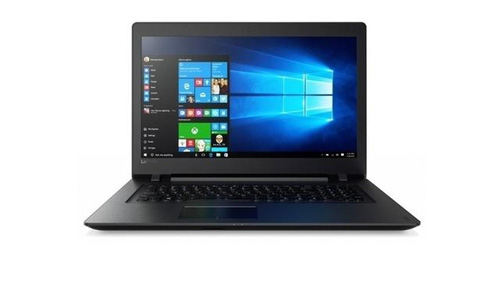
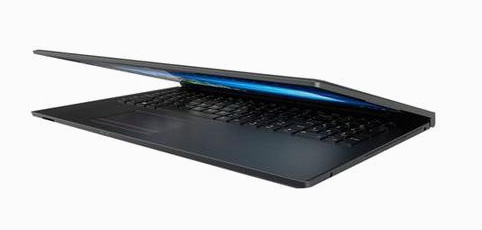
0871 244 0934Upgrading your laptops memory is easier than most people realise and can be done in just a few minutes. The V110 is great laptop to upgrade as the free slot means you just need to add another 4GB stick, rather than having to purchase an 8GB stick. All you will need is a small philips screwdriver and the new stick of memory to install.
Shut down your laptop fully and wait for it to power off. (Ensure the laptop is shut down and not in standby.)
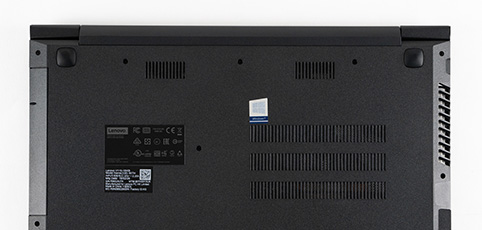
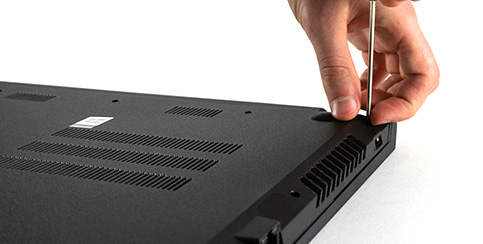
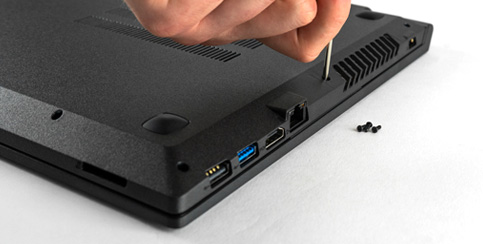
Turn the laptop onto its front and remove the screws from the rear of the laptop.
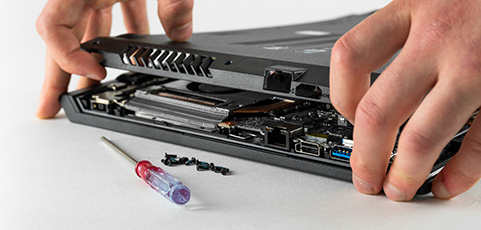
Carefully remove the back panel of the laptop and put to one side.
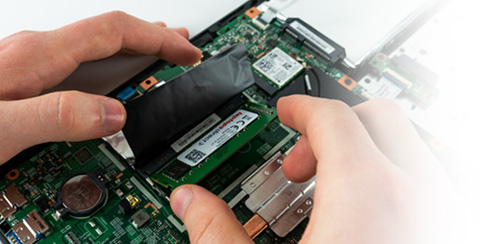
Align the notches on the module with the ridges in the slot. Firmly push the memory slot at a 45deg angle, then press down until the metal clips engage and hold the memory in place. (If installed correctly you will still be able to see around 1.5mm or less of the golden pins on the module.)
Replace the back panel of the laptop.
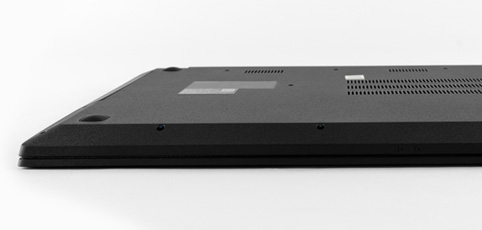
Attach the back panel with the screws you removed in step 2.
Power the laptop on, this might take a little longer than usual as it checks the memory for the first time.
Once in Windows, navigate to the Control Panel > System screen and look at the installed Memory (RAM) field to see your new upgrade.
» Static electricity can cause damage to the internal components of your laptop and the memory you are installing. Before handing the memory outside of its packaging or getting close to the internals of your laptop touch any of the unpainted surfaces on your laptop’s chassis or discharge yourself by touching a metal surface connected to the ground, like a radiator pipe etc.
» When holding memory, hold it along the side edges and avoid touching the golden contact pins.